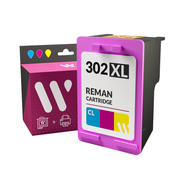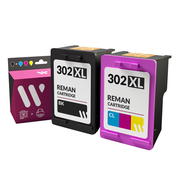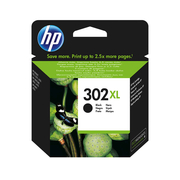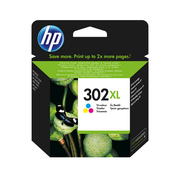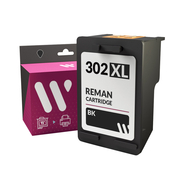
One of the most popular printers among our users is the HP Deskjet 2134. As the name suggests, it is part of the HP Deskjet series, one of the widest and most famous series of the brand. The success of the HP Deskjet 2134 lies in the fact that it is a super complete printer that has all the necessary functionalities to perform any printing task from the comfort of home. As for the users it is intended for, we could say that they have the following characteristics: they want a domestic printer that is small, compact, all-in-one, and very easy to use. In short, it offers them everything they would find in a professional printing center, but without having to go there.
The HP Deskjet 2134 is an inkjet printer, which means that it requires the classic liquid ink cartridges. Do you prefer the original version or the compatible one? At Webcartridge, we have both options available so you can choose the ones that best suit your needs. Additionally, we also give you the possibility to choose between the standard or XL format. Do not forget that the HP Deskjet 2134 only needs two cartridges: one black and one tri-color. Trust Webcartridge when it comes to buying consumables for your HP Deskjet 2134 printer, we assure you that we have the best prices on the market.
Features of the HP Deskjet 2134 Printer
- Dimensions: 424x241.3x190.2 mm
- Weight: 2.06 kg
- Scanner: Yes
- Copier: Yes
- Fax: No
- Compatible Cartridges: HP 302
- Input Tray Capacity: 60
- Output Tray Capacity: 25
- Wireless Connection: No
- Airprint and ePrint: No
- HP Smart: No
- Printing Cycle: 1000 pages
Guide on How to Change the Ink Cartridges of the HP Deskjet 2134
At Webcartridge, we have prepared a brief guide so that any user can replace the ink cartridges of their HP Deskjet 2134 by themselves. To do this, you simply need to follow the steps we provide below in order, and you're done.
- Before starting, make sure the printer is plugged in and turned on, otherwise, you won't be able to change the cartridges.
- Next, lower the paper output tray, open the door that provides access to the cartridges, press down the one you need to replace, and take it out. Do not try to remove the cartridge until the printer carriage has stopped in the center.
- Take the new cartridge, remove it from its packaging, and be careful not to touch the copper-colored contacts or the ink nozzles. Before inserting it into the printer, you need to remove the plastic protective tape.
- Place the black cartridge in the right slot and the tri-color cartridge in the left slot. You need to insert them with the nozzles facing towards the print side of the printer. To ensure that it is properly placed, gently push it backward.
- To finish, close the door with access to the cartridges, and you can start printing.