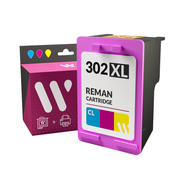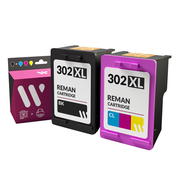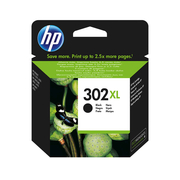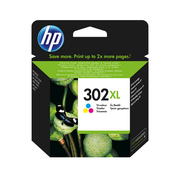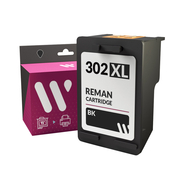
HP Officejet is one of the most popular printer series from the brand, and one of the best-selling references is the HP Officejet 3832. These are characterized, mainly, by three aspects: they are inkjet printers, designed for small workgroups, and are very affordable. Let's break it down. The HP Officejet 3832, as mentioned before, is an inkjet printer. What does this mean? It means that it uses the classic liquid cartridges as consumables. In our online store, we have them available in both the original and compatible versions, so you can choose the option that best suits your needs. Standard capacity or high yield? You can also choose the format of the ink cartridges for your HP Officejet 3832!
Another feature is that it has been designed for use in work environments with one to three people at most. Therefore, it is not a printer for home use but rather intended and designed for professional settings. Do you have a small office? A neighborhood shop? Do you work from home and need a printer with all the printing functionalities? In any of these cases, the HP Officejet 3832 will be perfect for you. Lastly, and probably most importantly, its price. It's really affordable, so any user could easily afford it without any problem.
Features of the HP Officejet 3832 Printer
- Dimensions: 454x222.3x362 mm
- Weight: 5.67 kg
- Scanner: Yes
- Copier: Yes
- Fax: Yes
- Compatible Cartridges: HP 302
- Input Tray: 60
- Output Tray: 25
- Wireless Connection: Yes
- Airprint and ePrint: Yes
- HP Smart: Yes
Guide on How to Change the Ink Cartridges of the HP Officejet 3832
Is it time to change the ink cartridges of your HP Officejet 3832? You're in luck; at Webcartridge, we have prepared a perfect guide for beginners. Follow the steps below, and you'll see how easy it is!
- The first step is very simple. Just turn on the printer and open the door that provides access to the ink cartridges.
- When the carriage has stopped and become silent, press the ink cartridge that you need to replace and remove it.
- Next, take the new cartridge out of its packaging, remove the protective plastic tape, and any other protective elements.
- With the cartridge ready to install, insert it into the slot of the corresponding color and push it until you see that it fits correctly.
- To finish, close the access door to the ink cartridges, and you're done.
- Remember that you have to match the color of the ink cartridge label with the color of the slot shown on the printer carriage; otherwise, you'll be placing it incorrectly.