The HP Officejet 3834 printer is one of our users' favorites. The reason? Its unbeatable value for money, as it is a printer that has all the necessary printing functionalities and comes at a very affordable price accessible to everyone. As for the rest of its features, it belongs to the HP Officejet series, one of the most popular brands. It is an inkjet printer designed for workgroups of up to three users.
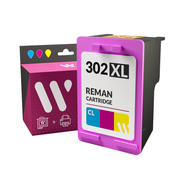
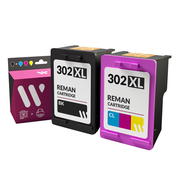
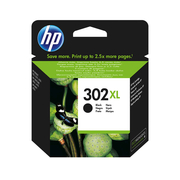
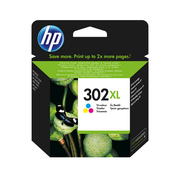
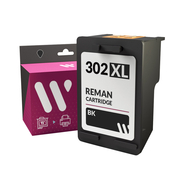
Now, what interests us is to know what type of consumables the HP Officejet 3834 needs for printing. As it is an inkjet printer, its consumables are liquid ink cartridges. At Webcartridge, we have them available in both the original and compatible versions. What's the difference? The original ones are made by the printer's own manufacturer and come at a higher price. As for the compatible ones, they are much cheaper, as they are made by other companies unrelated to the printer's brand. Both options are excellent, and you can be confident that they will provide prints of exceptional quality. So, what are you waiting for? Trust us, you won't find the cartridges for your HP Officejet 3834 cheaper anywhere else.
Features of the HP Officejet 3834 Printer
- Dimensions: 454x222.3x362 mm
- Weight: 5.67 kg
- Scanner: Yes
- Copier: Yes
- Fax: Yes
- Compatible Cartridges: HP 302
- Input Tray: 60
- Output Tray: 25
- Wireless Connection: Yes
- Airprint and ePrint: Yes
- HP Smart: Yes
Guide on How to Change the Ink Cartridges of the HP Officejet 3834
Do you need to replace the ink cartridges of your HP Officejet 3834 printer, but don't know how to do it? Here's everything you need to know. At Webcartridge, we have prepared a simple and concise guide so that any user can replace the consumables of their printer, even if it's their first time. Take a look, you'll see that everything is here!
- Before you start, turn on the printer.
- Open the door that gives access to the ink cartridges.
- Before proceeding, wait for the printer carriage to stop.
- Press gently down on the cartridge you need to change to remove it from the slot and take it out.
- Take the new cartridge out of the packaging very carefully.
- Carefully remove the plastic tape that protects the cartridge contacts and other protectors, if any.
- Hold the ink cartridge by the sides, insert it into the slot of its color, and push it until you see that it has properly snapped into place.
- Install the ink cartridge in its corresponding slot. To do this, match the color of the cartridge label with the color shown in each of the cartridge slots.
- Repeat these steps if you need to replace the rest of the cartridges.
- Finally, close the door that gives access to the cartridges, and you're done.