

Compatible HP 901XL Black
Ref.: 1580096
Colour :
Black
Ink (ml) :
18.00ml
VAT included
![]() Available
Available
Receive it the 4/28/2025 12:00:00 AM
![]() Available under order
Available under order
![]() Sold out
Sold out
![]() Soon
Soon
![]() Discontinued
Discontinued
![]() Available
Available
Receive it the 4/28/2025 12:00:00 AM
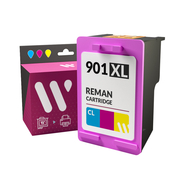
Compatible HP 901XL Colour
Ref.: 1580097
Colour :
Colour
Ink (ml) :
15.00ml
VAT included
![]() Available
Available
Receive it the 4/28/2025 12:00:00 AM
![]() Available under order
Available under order
![]() Sold out
Sold out
![]() Soon
Soon
![]() Discontinued
Discontinued
![]() Available
Available
Receive it the 4/28/2025 12:00:00 AM

Compatible HP 901XL Black/Colour Pack
Ref.: 1587429
VAT included
![]() Sold out
Sold out
Activate the notification and we'll let you know!
![]() Available under order
Available under order
![]() Sold out
Sold out
![]() Soon
Soon
![]() Discontinued
Discontinued
![]() Available
Available
Activate the notification and we'll let you know!
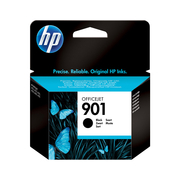

HP 901 Black Original
Ref.: 1580581
Colour :
Black
Ink (ml) :
4.00ml
Yield :
200pag.
VAT included
![]() Sold out
Sold out
Activate the notification and we'll let you know!
![]() Available under order
Available under order
![]() Sold out
Sold out
![]() Soon
Soon
![]() Discontinued
Discontinued
![]() Available
Available
Activate the notification and we'll let you know!
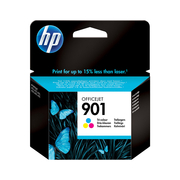
HP 901 Colour Original
Ref.: 1580583
Colour :
Colour
Ink (ml) :
9.00ml
Yield :
360pag.
VAT included
![]() Sold out
Sold out
Activate the notification and we'll let you know!
![]() Available under order
Available under order
![]() Sold out
Sold out
![]() Soon
Soon
![]() Discontinued
Discontinued
![]() Available
Available
Activate the notification and we'll let you know!
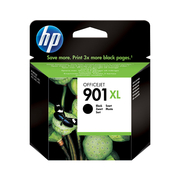
HP 901XL Black Original
Ref.: 1580582
Colour :
Black
Ink (ml) :
14.00ml
Yield :
700pag.
VAT included
![]() Sold out
Sold out
Activate the notification and we'll let you know!
![]() Available under order
Available under order
![]() Sold out
Sold out
![]() Soon
Soon
![]() Discontinued
Discontinued
![]() Available
Available
Activate the notification and we'll let you know!
HP 901XL/901 Pack Negro/Color Original
Ref.: 1583457
VAT included
![]() Sold out
Sold out
Activate the notification and we'll let you know!
![]() Available under order
Available under order
![]() Sold out
Sold out
![]() Soon
Soon
![]() Discontinued
Discontinued
![]() Available
Available
Activate the notification and we'll let you know!