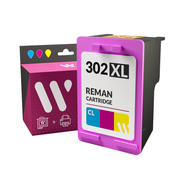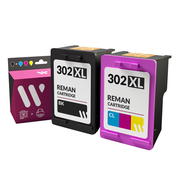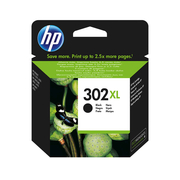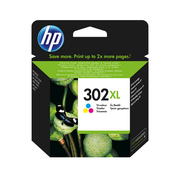
Do you have an HP Officejet 4650 printer? If so, in this section of our online ink store, you will find the consumables you need for it. Let's take it step by step. Do you know which series it belongs to or who it is designed for? Don't worry, at Webcartridge, we will tell you everything you need to know about it. The HP Officejet 4650 printer belongs, as its name suggests, to the HP Officejet series. This is one of the first printer series developed by the brand and one of the most famous. As for its target audience, this printer has been designed to meet the needs of work teams consisting of one, two, or a maximum of three users. It is, therefore, perfect for small offices, shops, and families whose members work from home.
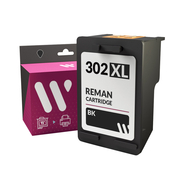
The HP Officejet 4650 is an inkjet printer, which means it requires liquid ink cartridges. At Webcartridge, we know that our customers have very different needs. Some prefer original consumables, while others prefer compatible ones; some want standard capacity, while others prefer XL format. For this reason, in our online ink store, you will find all the currently available options in the market, so you can choose the one that best suits your needs and budget.
Features of the HP Officejet 4650 printer
- Dimensions: 444.5x164.34x350.27 mm
- Weight: 6.39 kg
- Scanner: Yes
- Copier: Yes
- Fax: Yes
- Compatible Cartridges: HP 302
- Input Tray: 100
- Output Tray: 25
- Wireless Connection: Yes
- Airprint and ePrint: Yes
- HP Smart: Yes
- Duty Cycle: 1200 pages
Guide on how to change the ink cartridges of the HP Officejet 4650
Do you need to change the cartridges of your HP Officejet 4650 printer, but don't know how to do it? Here's everything you need to know. At Webcartridge, we have prepared a simple and concise guide so that any user can replace the consumables of their printer, even if it's the first time. Take a look, you'll find everything you need here!
- Turn on the printer before you begin.
- Open the door to access the ink cartridges.
- Wait for the printer carriage to stop before proceeding.
- Gently press down on the cartridge you want to replace to remove it from the slot and take it out.
- Carefully take the new cartridge out of the package.
- Carefully remove the plastic tape that protects the contacts of the ink cartridge and any other protectors, if present.
- Hold the cartridge on the sides, insert it into the slot of its color, and push it until you see that it fits correctly.
- Place the ink cartridge in its corresponding slot. To do this, match the color of the cartridge label with the color of the slot on the printer carriage.
- Repeat the previous steps if you need to change the rest of the ink cartridges.
- Finally, close the door that provides access to the cartridges, and you're done.